Air leaks in your home can waste energy and raise utility bills. Learning how to properly seal air leaks in your home saves money and boosts comfort. Drafty windows, doors, and walls let cold air in during winter and hot air in summer. Sealing these gaps improves energy efficiency and keeps your home cozy. According to the U.S. Department of Energy, sealing air leaks can reduce energy costs by up to 20%. This blog post explains simple steps to find and fix leaks. I’ll share practical tips and a personal story to help you tackle this task confidently.
Why Sealing Air Leaks Matters
Air leaks cause your heating and cooling systems to work harder, increasing energy bills. Unsealed gaps let conditioned air escape, making your home less comfortable. For example, drafty windows can raise heating costs significantly. The Environmental Protection Agency states that homeowners can save 15% on energy bills by sealing leaks. Additionally, air leaks can let in dust, pollen, and pests, affecting indoor air quality.
Fixing leaks improves insulation performance and reduces strain on HVAC systems. My old apartment had a drafty window that made winter nights chilly. After sealing it, the room felt warmer, and my energy bill dropped noticeably. Therefore, addressing air leaks is a smart, cost-effective way to enhance your home’s efficiency and comfort.
How to Identify Air Leaks in Your Home
Finding air leaks is the first step to sealing them. Start by inspecting areas where different materials meet, like windows, doors, and vents. Feel for drafts with your hand or use a candle to spot flickering flames near gaps. On windy days, leaks are easier to detect. Another method is the incense stick test: hold a lit stick near suspected areas and watch for smoke movement.
For a thorough check, consider a professional energy audit. According to Energy Star, audits can pinpoint leaks with tools like infrared cameras. I once used a candle to find a gap under my front door. It was surprising how much air was sneaking in. Regularly checking for leaks ensures your home stays energy-efficient and comfortable year-round.
Tools and Materials Needed to Seal Air Leaks
Before you start sealing, gather the right tools and materials. Common supplies include caulk, weatherstripping, spray foam, and draft stoppers. You’ll also need a caulk gun, utility knife, tape measure, and a flashlight for inspections. Each material suits specific areas: caulk for small gaps, weatherstripping for doors, and spray foam for larger holes.
Choose high-quality materials for lasting results. For instance, silicone caulk works well in bathrooms due to its water resistance. I learned this when fixing a leaky window frame in my kitchen; cheaper caulk cracked quickly. Home Depot’s guide on sealing materials suggests investing in durable products to avoid frequent repairs. Having the right tools makes the process smoother and more effective.
Step-by-Step Guide to Sealing Air Leaks
Step 1: Prepare the Area
Clean surfaces before applying sealants to ensure they stick properly. Remove dust, dirt, or old caulk with a cloth or scraper. Dry the area completely to avoid adhesion issues. Additionally, check the weather forecast; sealing works best on dry days with mild temperatures. Preparing well saves time and improves results.
Step 2: Apply Caulk or Weatherstripping
For small gaps, use a caulk gun to apply a smooth bead of caulk. For doors and windows, install weatherstripping by cutting it to size and pressing it into place. I sealed a drafty door in my home with foam weatherstripping, and it made a huge difference. Ensure tight seals by pressing firmly and checking for gaps.
Step 3: Use Spray Foam for Larger Gaps
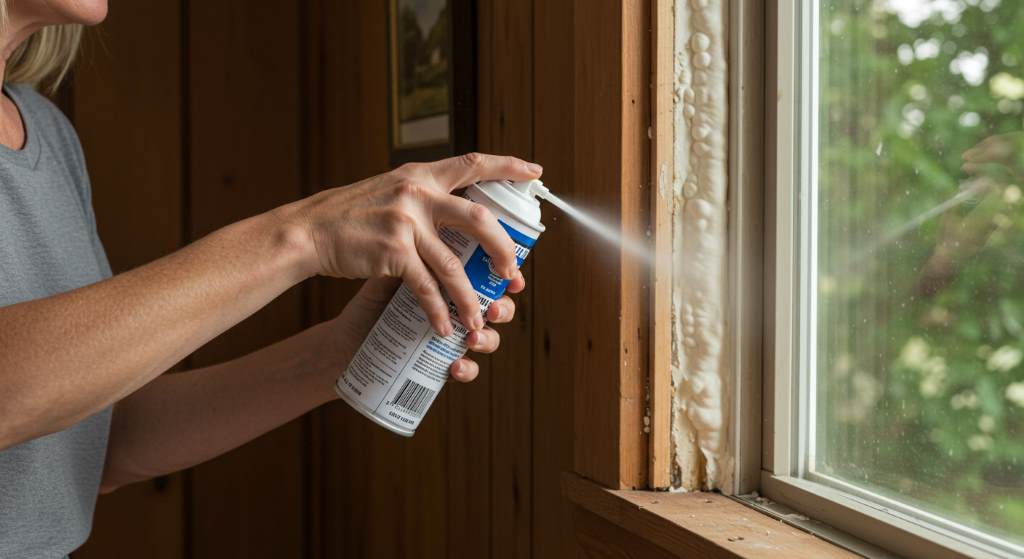
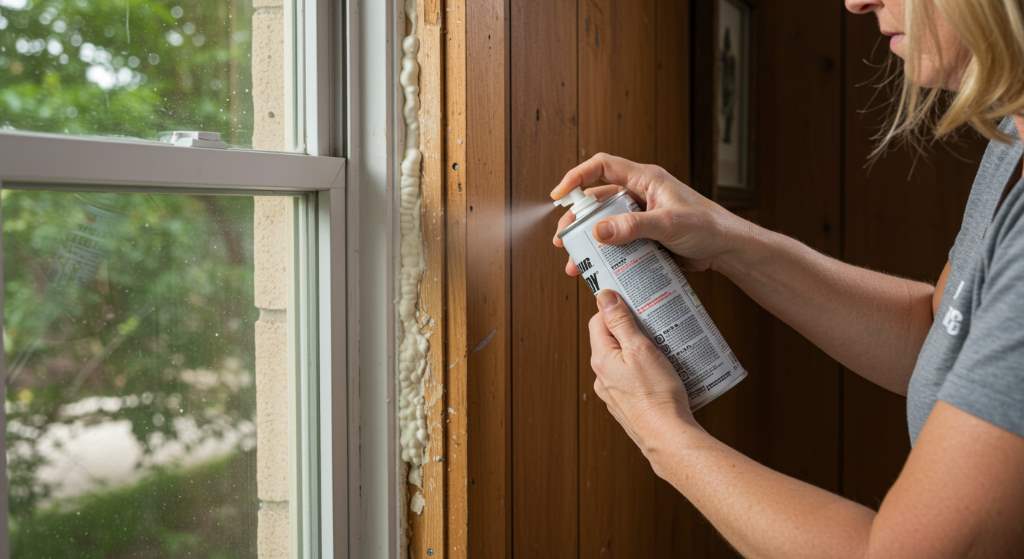
For bigger holes, like those around pipes or vents, spray foam is ideal. Shake the can well and apply sparingly, as foam expands. Let it dry before trimming excess with a knife. According to This Old House, spray foam can reduce air leakage by up to 50% in some cases. Always wear gloves to avoid sticky messes.
Common Areas to Check for Air Leaks
Air leaks often occur in predictable spots. Windows and doors are prime culprits due to worn seals or poor installation. Check frames and sills for gaps. Attics and basements are also common, especially where pipes or wires enter. Electrical outlets, vents, and recessed lights can also let air through.
In my home, I found leaks around an old outlet that made the room drafty. Adding outlet gaskets fixed it quickly. Regularly inspect these areas, especially before winter. Use a flashlight to spot hidden gaps. Addressing these spots ensures your home stays warm and energy-efficient, saving you money in the long run.
Benefits of Properly Sealing Air Leaks
Sealing air leaks boosts energy efficiency and lowers utility bills. It also improves indoor comfort by maintaining consistent temperatures. Additionally, it reduces noise from outside, creating a quieter home. The Department of Energy notes that sealing leaks can cut heating and cooling costs by 10-20%.
Moreover, it enhances indoor air quality by blocking dust and allergens. When I sealed leaks in my living room, I noticed less dust on surfaces. It also extends the life of your HVAC system by reducing its workload. Therefore, investing time in sealing leaks pays off in comfort, savings, and home durability.
Mistakes to Avoid When Sealing Air Leaks
One common mistake is using the wrong sealant for the job. For example, caulk won’t hold in areas with heavy movement, like door frames. Always match materials to the task. Another error is skipping surface preparation, which weakens adhesion. I once applied caulk to a dusty window frame, and it peeled off within weeks.
Avoid overusing spray foam, as it can expand messily. Check product labels for indoor or outdoor use to prevent damage. Lastly, don’t ignore small leaks; they add up. Taking time to do it right saves effort and ensures long-lasting results.
Conclusion
Learning how to properly seal air leaks in your home is a simple way to save energy and improve comfort. By identifying leaks, using the right tools, and sealing common areas, you can cut utility costs and enhance indoor air quality. My experience sealing a drafty window taught me how small fixes make a big difference. With the steps outlined, you can tackle this project confidently. Start today to enjoy a cozier, more efficient home. Share your tips or questions in the comments below, or spread the word by sharing this article!
FAQs
Why do air leaks increase energy bills?
Air leaks let conditioned air escape, forcing your HVAC system to work harder, raising costs.
What’s the best sealant for windows?
Silicone caulk is ideal for windows due to its durability and weather resistance.
How often should I check for air leaks?
Inspect your home annually, especially before winter, to catch new leaks early.
Can I seal air leaks myself?
Yes, with basic tools like caulk and weatherstripping, most homeowners can seal leaks effectively.
Are professional energy audits worth it?
Yes, audits use advanced tools to find hidden leaks, ensuring thorough sealing.