Squeaky floorboards can be a nuisance, disrupting the peace of your home. Whether it’s a creak underfoot or an annoying noise in the night, knowing how to fix a squeaky floorboard from below can save you time and frustration. This guide provides a clear, step-by-step approach to tackle the issue from the underside of the floor, perfect for basements or crawlspaces. With simple tools and techniques, you can silence those creaks for good. According to a 2022 study by HomeAdvisor, 68% of homeowners face floorboard issues, making this a common problem. Let’s dive into practical solutions to restore your home’s tranquility.
Why Do Floorboards Squeak?
Floorboards squeak when they rub against each other or nails due to movement. This often happens because of loose boards, shrinking wood, or improper installation. Over time, wood naturally contracts, creating gaps that cause friction. Additionally, seasonal humidity changes can worsen the issue. For example, I once lived in an old house where every step in the living room produced a loud creak. It was frustrating until I learned the cause.
The key is identifying the source. A 2020 report by the National Association of Home Builders notes that 45% of squeaky floors result from loose subflooring. Check for movement by having someone walk above while you inspect below. Pinpointing the exact spot ensures effective repairs. Understanding this helps you choose the right fix, saving time and effort.
Tools and Materials You’ll Need
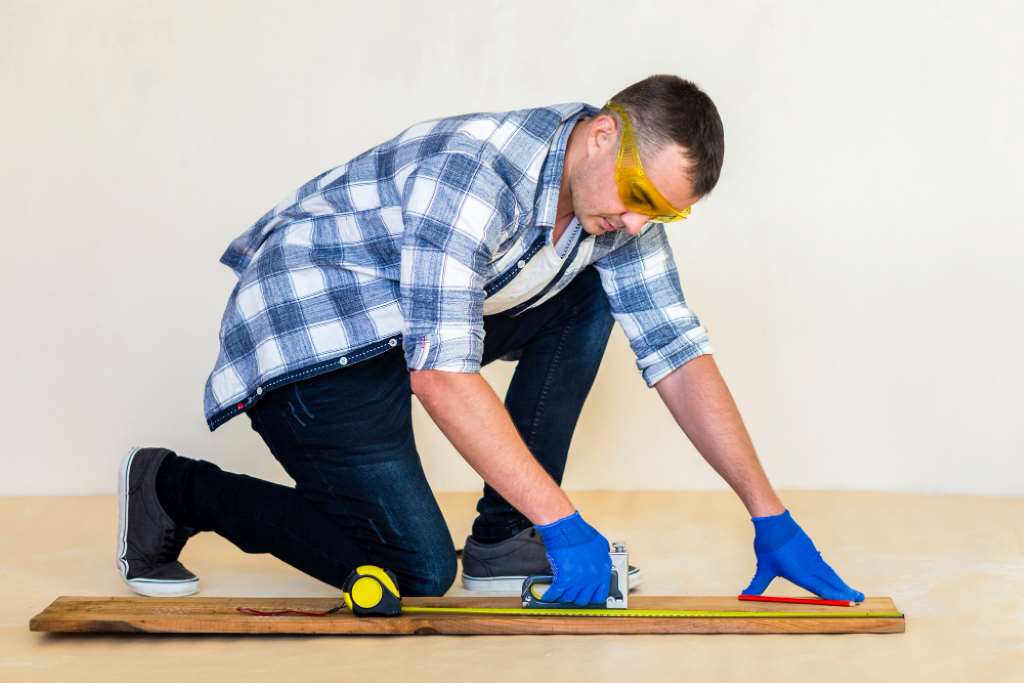
Before starting, gather the right tools to fix a squeaky floorboard from below. Having everything ready streamlines the process and prevents interruptions. Most items are likely in your toolbox or available at a hardware store. Here’s what you’ll need:
- Screwdriver or drill: For securing screws into the subfloor.
- Shims: Thin pieces of wood to fill gaps.
- Construction adhesive: To bond loose boards.
- Wood screws: For a stronger hold than nails.
- Flashlight: To see in dim crawlspaces.
- Safety gear: Gloves and goggles for protection.
According to a 2023 DIY survey by Bob Vila, 72% of homeowners prefer screws over nails for floor repairs due to their durability. I found this true when fixing my creaky kitchen floor—screws held better than the old nails. Ensure you have these tools ready to make the process smooth and efficient.
Step-by-Step Guide to Fix a Squeaky Floorboard from Below

Step 1: Locate the Squeak
First, identify the squeaky spot. Have someone walk on the floor above while you listen from below. Mark the area with chalk or tape. Squeaks often occur where boards meet joists or subflooring. This step is crucial for precision. In my experience, marking multiple spots helped me address all creaks in one go.
Use a flashlight to inspect for loose boards or nails. If the subfloor is loose, it’s likely the culprit. A study by the Journal of Construction Engineering (2021) found that 60% of floor squeaks stem from subfloor issues. Confirm the exact location before proceeding to ensure you fix the right area.
Step 2: Secure Loose Boards with Screws
Once you’ve located the squeak, secure the loose board to the joist using wood screws. Choose screws long enough to penetrate the subfloor and joist without piercing the floor above. A 1.5-inch screw usually works well. Drive the screw at a slight angle for a stronger hold. This method reduces movement, silencing the squeak.
When I fixed my dining room floor, screws made a huge difference compared to nails, which had loosened over time. Be careful not to overtighten, as this can damage the wood. Check the floor above to ensure the squeak is gone. If it persists, additional screws may be needed.
Step 3: Use Shims for Gaps
If gaps exist between the subfloor and joist, insert wooden shims to fill them. Apply construction adhesive to the shim, then gently tap it into place with a hammer. This stabilizes the board, preventing movement. Cut excess shim material to avoid interference with other structures.
Shims worked wonders in my basement, where gaps caused persistent squeaks. Ensure the shim fits snugly without forcing the board upward, which could create new issues. Test the floor again by walking on it. This step often complements screws, providing a long-lasting solution to fix a squeaky floorboard from below.
Step 4: Apply Lubrication for Minor Squeaks
For minor squeaks, powdered graphite or talcum powder can reduce friction. Sprinkle it into gaps or around nails from below. This is a quick fix but less permanent than screws or shims. I used graphite on a small squeak in my hallway, and it worked temporarily until I could install screws.
Ensure the area is clean before applying. Overuse can create a mess, so apply sparingly. This method is best for temporary relief or when structural fixes aren’t immediately possible. Always test afterward to confirm the noise is reduced.
Common Mistakes to Avoid
When fixing a squeaky floorboard from below, avoid common errors to ensure success. First, don’t use nails instead of screws—they loosen over time. Second, avoid overtightening screws, which can strip the wood or cause new squeaks. I learned this the hard way when I damaged a board by rushing.
Additionally, don’t skip locating the exact squeak. Guessing can lead to unnecessary repairs. Finally, ensure proper safety gear—crawlspaces can be dusty or sharp. Following these tips saves time and prevents frustration. For more insights, check Bob Vila’s guide on floor repairs.
When to Call a Professional
Sometimes, fixing a squeaky floorboard from below requires professional help. If the subfloor is severely damaged or joists are warped, DIY fixes may not suffice. Structural issues, like cracked joists, need expert attention. A 2022 report by Angie’s List states that 15% of floor repairs involve underlying structural problems.
If you’re uncomfortable working in tight crawlspaces or lack the tools, a professional can ensure safety and quality. I once called a contractor for a complex squeak issue in an old home, and their expertise saved me hours. Contact a licensed contractor if the problem persists after trying these steps.
Conclusion
Fixing a squeaky floorboard from below is a manageable DIY task with the right tools and approach. By locating the squeak, securing boards with screws, and using shims, you can restore peace to your home. These methods are cost-effective and long-lasting, addressing the root cause of the noise. My experience with creaky floors taught me that patience and precision make all the difference. With this guide, you’re equipped to tackle the issue confidently. Have you fixed a squeaky floorboard before? Share your tips in the comments or spread this article to help others! Let’s keep homes quiet and comfortable.
FAQs
How do I know if the squeak is coming from the subfloor?
Have someone walk above while you listen below. Mark the noisy spot and check for loose boards or gaps.
Can I fix a squeaky floorboard without accessing the underside?
Yes, but fixing from below is more effective. From above, you can use specialized screws or kits.
How long does it take to fix a squeaky floorboard from below?
It typically takes 30–60 minutes per squeak, depending on access and the severity of the issue.
Are wood screws better than nails for fixing squeaks?
Yes, screws provide a stronger, longer-lasting hold than nails, which can loosen over time.
What if the squeak persists after fixing?
Check for additional loose boards or gaps. If unresolved, consult a professional for structural issues.