Winter weather presents unique challenges for Starlink satellite dish owners. Ice and snow accumulation can severely impact internet connectivity when it blocks the dish’s ability to communicate with satellites. Professional installation companies like Roof Master Construction specialize in winter-ready mounting solutions that help minimize these weather-related issues.
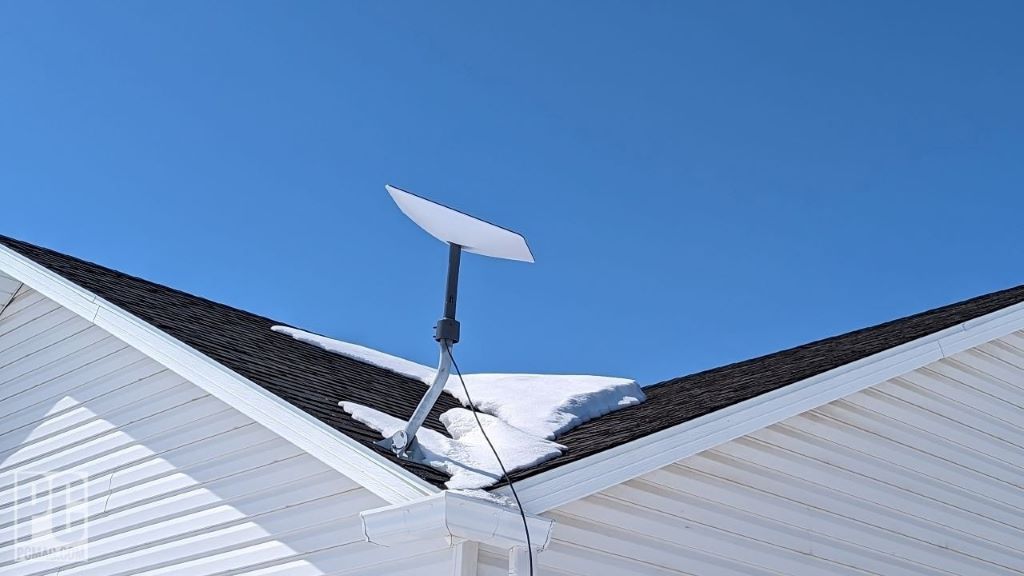
Understanding how ice affects your Starlink system is crucial for maintaining reliable internet service throughout cold months. Many homeowners wonder if they can mount starlink in roof in snowy area safely and effectively. The answer is yes, but proper installation techniques and preventive measures are essential for optimal performance.
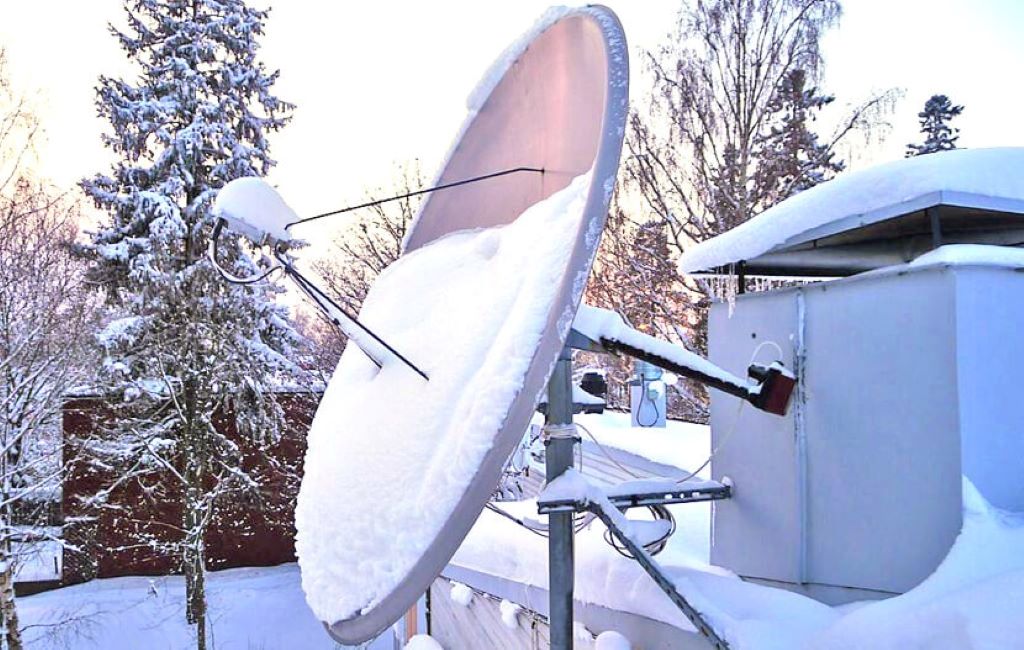
Ice buildup occurs when snow melts on the warm dish surface, then refreezes as temperatures drop. This cycle creates layers of ice that block satellite signals and reduce connection quality. Additionally, heavy snow loads can stress mounting hardware if not properly designed for winter conditions.
Understanding Ice Formation on Starlink Dishes
Ice accumulation happens through several weather processes. Snow landing on the dish surface often melts due to the device’s operational heat. However, when ambient temperatures remain below freezing, this melted snow quickly turns to ice. Freezing rain creates an even more problematic scenario, coating the entire dish surface with a thick ice layer.
The dish’s smooth surface and angled position make it particularly susceptible to ice formation. Unlike traditional satellite dishes, Starlink’s flat design can trap moisture more easily. Furthermore, the dish’s automatic positioning movements may become restricted when ice builds up around the motor mechanisms.
Temperature fluctuations worsen ice problems. When daytime warming partially melts accumulated snow, nighttime refreezing creates harder, more persistent ice layers. These cycles continue throughout winter, gradually building thicker ice coatings that become increasingly difficult to remove safely.
Built-in Starlink Ice Mitigation Features
Starlink dishes include several features designed to combat ice buildup. The system has a snow melt mode that increases power consumption to generate additional heat. This feature activates automatically when the dish detects reduced signal quality potentially caused by snow or ice coverage.
The dish surface includes a hydrophobic coating that helps water and melted snow slide off more easily. However, this coating becomes less effective when ice forms, as the rough ice surface provides more grip for additional accumulation.
Starlink’s motors continue attempting to position the dish optimally even with some ice present. Nevertheless, excessive ice buildup can overwhelm these systems and potentially damage the positioning mechanisms if left unaddressed for extended periods.
Effective Ice Prevention Strategies
Prevention remains the most effective approach to managing ice buildup. Proper mounting location selection significantly impacts ice accumulation patterns. Installing the dish in areas with natural wind exposure helps prevent ice formation, as moving air disrupts the freezing process.
Strategic positioning away from roof edges where ice dams typically form reduces additional ice load from falling debris. Moreover, avoiding locations directly beneath gutters or overhangs prevents dripping water from creating localized ice problems.
Regular monitoring during winter weather allows for early intervention before ice becomes problematic. Checking the dish after each winter storm helps identify developing issues while they remain manageable.
Safe Ice Removal Techniques
When ice removal becomes necessary, safety must be the primary concern. Never use sharp tools or excessive force, as these can damage the dish’s delicate surface or positioning mechanisms. Instead, gentle warming methods prove most effective and safest.
Warm water application works well for thin ice layers. Pour lukewarm water slowly over the iced areas, allowing natural melting to occur. Avoid hot water, which can crack the dish surface due to thermal shock. Additionally, commercial ice melting products designed for electronics provide another safe option.
For thicker ice accumulation, patience becomes essential. Allow the dish’s built-in heating system time to work by ensuring power remains connected. The system may take several hours to melt substantial ice buildup, but this approach prevents damage from aggressive removal attempts.
Professional Installation Considerations
Professional installation offers significant advantages for winter performance. Experienced installers understand optimal mounting angles that promote natural ice shedding while maintaining signal quality. They also select mounting hardware rated for additional ice and snow loads common in winter climates.
According to Consumer Reports, proper installation significantly impacts satellite internet performance during severe weather conditions. Professional installers ensure adequate clearance around the dish for ice expansion and implement drainage systems that prevent water accumulation near mounting points.
Quality mounting systems include features like reinforced brackets and weather-resistant connections that withstand freeze-thaw cycles. These installations typically perform better throughout winter compared to basic DIY setups that may not account for winter-specific challenges.
Maintenance Schedule for Winter Months
Establishing a regular maintenance routine helps prevent serious ice problems. Weekly visual inspections during active winter weather allow early detection of developing issues. However, prioritize safety and avoid accessing roof-mounted dishes during storms or icy conditions.
Monthly cleaning of surrounding areas removes debris that can trap moisture and contribute to ice formation. Clear gutters and downspouts prevent overflow that might freeze on or near the dish. Furthermore, trimming nearby branches reduces the likelihood of ice-laden limbs falling onto the equipment.
Pre-winter preparation includes checking all connections and ensuring the dish’s heating system functions properly. Testing these systems before severe weather arrives allows time for repairs if needed.
Troubleshooting Connection Issues
Ice-related connection problems typically manifest as reduced speeds or intermittent service rather than complete outages. The Starlink app provides diagnostic information that helps distinguish between ice-related issues and other connectivity problems.
Signal strength readings below normal ranges often indicate partial ice coverage. Additionally, error messages mentioning obstructions frequently relate to ice or snow blocking the dish’s view of satellites. These issues usually resolve as ice melts or gets removed.
If problems persist after ice removal, power cycling the system often restores normal operation. Unplug the dish for several minutes, then reconnect power to allow complete system reset.
Advanced Winter Solutions
For areas with persistent ice problems, several advanced solutions exist. Heated mounting plates provide additional warmth to prevent ice formation at the base connection points. These systems integrate with the dish’s power supply and activate automatically during freezing conditions.
Wind deflectors installed around the dish help maintain air circulation that disrupts ice formation. These accessories must be carefully positioned to avoid interfering with satellite signals while providing effective ice prevention.
Some users install temporary covers during extreme weather events. However, these require manual installation and removal, making them impractical for many situations.
Cost Considerations and ROI
Investing in proper winter solutions pays dividends through reduced service interruptions and equipment protection. Professional installation costs typically range from several hundred to over a thousand dollars, depending on complexity and local rates.
However, this investment prevents potential equipment damage from ice-related stress and maintains consistent internet service throughout winter months. For businesses or remote workers dependent on reliable connectivity, these benefits far outweigh installation costs.
Regular maintenance costs remain minimal, primarily involving time for inspections and occasional ice removal supplies. The alternative of frequent service calls or equipment replacement proves much more expensive long-term.
Conclusion
Managing Starlink satellite dish ice buildup requires understanding formation processes, implementing prevention strategies, and maintaining safe removal practices. Professional installation provides the foundation for winter performance, while regular maintenance prevents minor issues from becoming major problems.
The combination of Starlink’s built-in features, proper installation techniques, and proactive maintenance creates a reliable winter internet solution. Therefore, homeowners in snowy climates can enjoy consistent satellite internet service with appropriate preparation and ongoing attention to ice management.
Success depends on balancing prevention efforts with safe intervention when needed. Additionally, working with experienced professionals for installation and major maintenance ensures optimal system performance throughout challenging winter conditions.
Frequently Asked Questions
Q: How long does it take for Starlink’s heating system to melt ice buildup? A: The time varies based on ice thickness and ambient temperature. Thin ice layers typically melt within 30-60 minutes, while thick accumulations may require several hours. The system works most effectively when outside temperatures are above 10°F.
Q: Can I use a hair dryer or heat gun to remove ice from my Starlink dish? A: No, never use direct heating devices on the dish. These can damage the surface coating and electronic components. Instead, use lukewarm water or allow the built-in heating system to work naturally.
Q: Will ice damage my Starlink dish permanently? A: Moderate ice buildup rarely causes permanent damage. However, excessive ice weight can stress mounting hardware, and improper removal techniques may scratch the dish surface. Follow safe removal practices to prevent damage.
Q: Should I turn off my Starlink during ice storms? A: Keep the system powered on during winter weather. The built-in heating features only work when the dish receives power. Additionally, the system can often maintain partial connectivity even with some ice present.
Q: How can I tell if poor internet performance is due to ice versus other issues? A: Check the Starlink app for obstruction warnings and signal strength readings. Ice typically causes gradual performance degradation rather than complete outages. Visual inspection of the dish can confirm ice presence.
Read More:
How to Install a Smart WiFi Garage Door Opener: A Step-by-Step Story
Voice Control Systems: Empowering Elderly Residents with Smart Technology
Featured Image Source