

The tell-tale drip, the sudden spread of a dark, damp patch, or perhaps that faint, musty odor – discovering water damage under your sink is an unwelcome surprise for any homeowner. It’s a common household woe, often striking when you least expect it, turning a perfectly functional space into a breeding ground for problems. While the immediate urge might be panic, the good news is that many under-sink water damage issues are preventable and, with the right knowledge, surprisingly manageable. This comprehensive guide is designed to empower you, the homeowner, with the essential steps to quickly identify, assess, repair, and, most importantly, prevent water damage under your sink, stressing the critical importance of swift action. Ignoring these silent threats can lead to a cascade of costly consequences, from unsightly mold growth and unpleasant odors to compromised structural integrity and extensive repair bills.
The Silent Threat – Recognizing Water Damage
Water damage under your sink isn’t always a dramatic gush. Often, it begins subtly, a slow, insidious seep that goes unnoticed until significant damage has occurred. Therefore, recognizing the less obvious signs is crucial for early intervention. Beyond the conspicuous puddle, keep an eye out for a range of visual, olfactory, and even tactile cues.
Visually, examine your cabinetry, flooring, and even the wall behind the sink. Look for staining, discoloration, or dark watermarks, particularly near pipe connections or the base of the faucet. Warped or swollen cabinetry, especially particle board or MDF, is a clear indicator of moisture absorption. Peeling paint or wallpaper, as well as bubbles or delamination in laminate surfaces, can also signal underlying dampness.
Olfactory cues are equally important. A persistent musty odor, even faint, is a strong indicator of mold or mildew growth, which thrives in damp, dark environments. If you detect a damp, stagnant smell, it’s time to investigate further.
Tactile cues can provide direct evidence. Carefully feel the surfaces under your sink – the cabinet base, the backs of shelves, and even the wall. Soft spots in the flooring or cabinetry, or a persistent dampness to the touch, confirm the presence of moisture. In a truly quiet environment, you might even catch an auditory cue: a faint, repetitive dripping sound when no water is running, hinting at a slow, hidden leak.
When inspecting, pay close attention to specific high-risk areas: the pipes leading to and from the faucet, all connections (including those to the garbage disposal), the faucet base itself, the drain assembly, and the hot and cold water supply lines. The ability to detect these early warning signs is your first line of defense, potentially saving you significant money and preventing major structural or health issues down the line.
Pinpointing the Problem – Identifying the Source of the Leak
Once you suspect water damage, the next critical step is to pinpoint the exact source of the leak. A systematic approach will help you isolate the problem efficiently.
First, completely empty the cabinet under your sink. Remove all cleaning supplies, trash bins, and anything else that might obstruct your view or get wet. Once clear, thoroughly dry all surfaces with towels. This step is vital as it allows you to observe fresh leaks.
Now, it’s time for the “paper towel test.” Place dry paper towels or newspaper under various components: directly beneath the pipes, around all connections, at the base of the faucet, and underneath the garbage disposal if you have one. This will help you visually identify where drips are occurring.
Next, you’ll need to run water to simulate normal usage and observe for leaks:
- Faucet Test: Turn on the hot water first, let it run for a minute or two, and check the paper towels. Then repeat with the cold water.
- Drain Test: Run water down the drain, allowing the sink to fill partially and then drain. This helps identify leaks in the P-trap or drain assembly.
- Garbage Disposal Test (if applicable): If you have a garbage disposal, run it briefly with some water. Leaks here can come from the housing, the connection to the sink flange, or the dishwasher drain connection.
Pay close attention to common culprits and how they typically leak:
- Faucet Base: Often, leaks here are due to worn O-rings or loose mounting nuts. Water will typically seep down the outside of the faucet and collect at its base.
- Supply Lines: These flexible hoses connect your faucet to the hot and cold water shut-off valves. Leaks usually occur at loose fittings where they connect or if the hose itself has a crack or bulge.
- Drain Pipes/P-trap: The P-trap (the U-shaped pipe) is a common leak point. Loose slip nuts on the connections, deteriorated washers, or even a crack in the pipe itself can cause leaks.
- Garbage Disposal: A cracked housing, worn seals at the top (where it connects to the sink flange) or bottom, or loose connections to the drain or dishwasher hose are common issues.
- Dishwasher Drain Hose: If your dishwasher drains into the sink’s plumbing (often via a connection on the garbage disposal or a separate air gap), a loose clamp or cracked hose can cause leaks.
Before proceeding with any investigation or repair, it’s crucial to prioritize safety. Locate the hot and cold water shut-off valves directly under the sink and turn them off. If these are not present or appear faulty, you may need to locate and turn off the main water supply to your entire house. This prevents further water damage while you work.
Quick Fixes and Emergency Measures
Once you’ve identified the source of the leak and shut off the water, you can implement some quick fixes and emergency measures, whether you plan to call a professional or tackle the repair yourself.
Your immediate priorities are containment and drying. Place buckets, large bowls, or old towels directly under the leak to catch any residual drips. For more extensive leaks, consider using a tarp or plastic sheeting to protect the cabinet base and floor. Start the drying process immediately; this is the most critical step in preventing mold growth. Open the cabinet doors wide to allow for air circulation, and if possible, place fans or a dehumidifier near the affected area. The quicker you dry, the less likely mold will become an issue.
For small, manageable leaks, you might be able to implement temporary repair solutions:
- Tightening Connections: For leaks at slip nuts on drain pipes or the fittings on supply lines, often a gentle turn with a wrench (adjustable or basin wrench) can stop the drip. Be careful not to overtighten, as this can crack plastic pipes or strip threads.
- Teflon Tape or Pipe Thread Sealant: For threaded connections (like those on faucet supply lines or some drain connections), wrapping new Teflon tape (plumber’s tape) clockwise around the threads before tightening, or applying pipe thread sealant, can create a watertight seal.
- Hose Clamps: If a flexible hose (such as the dishwasher drain hose) is leaking at a connection point, ensure the hose clamp is tight. If it’s old or rusted, replace it with a new one.
- Epoxy Putty or Plumber’s Tape: For very small cracks in plastic or metal pipes, epoxy putty designed for plumbing repairs or specific plumber’s repair tape can offer a temporary seal. It’s crucial to understand that these are temporary fixes. They are designed to buy you time until a permanent replacement can be made, as they rarely hold up long-term.
While DIY fixes can be empowering, it’s equally important to know when to call a professional. You should absolutely contact a qualified plumber if:
- The leak is extensive or the source is unknown despite your investigation.
- There’s significant water damage that you’re uncomfortable assessing or repairing.
- You encounter complex plumbing issues beyond your expertise.
- You simply don’t feel confident in your ability to perform the repair correctly.
- The temporary fix doesn’t hold, or the leak recurs.
Related: Seasonal Upkeep for Thatched or Slate Roofs: A Homeowner’s Tale
From Repair to Restoration – Beyond the Leak
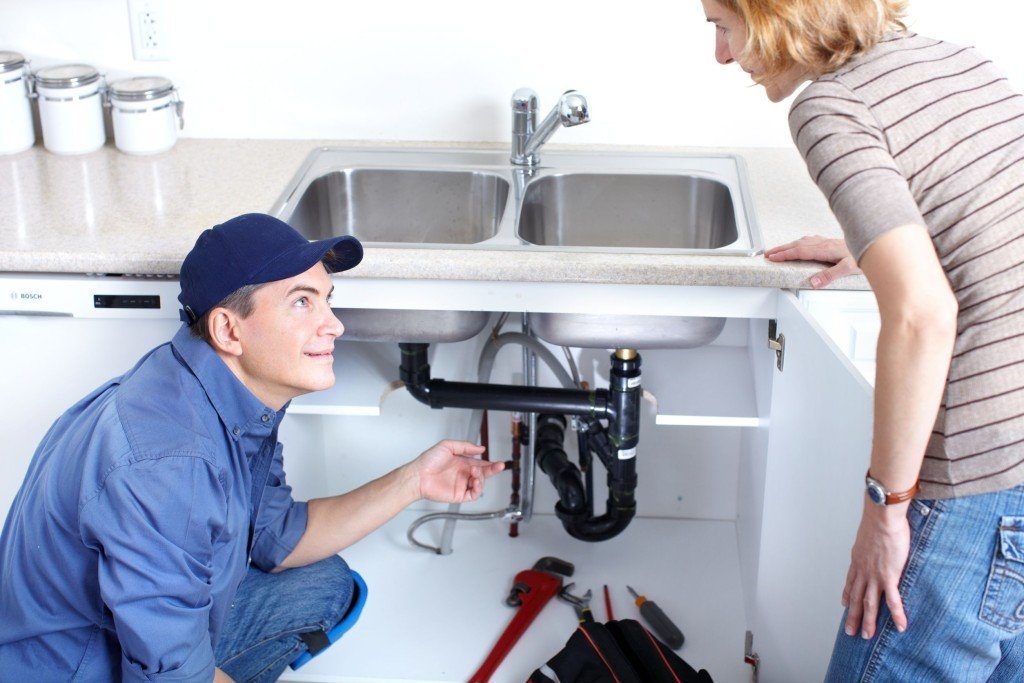
Once the leak itself has been successfully repaired, either by you or a professional, the work isn’t over. The focus now shifts to drying out the affected area thoroughly and addressing any existing damage to prevent future issues.
Reiterate the importance of meticulous drying and ventilation. Continue to use fans and dehumidifiers for several days, even after the visible moisture has gone. Keep cabinet doors open to ensure maximum airflow to all hidden surfaces. Consider using a moisture meter (relatively inexpensive and available at hardware stores) to confirm that the wood and other materials are truly dry, aiming for a moisture content below 15-20% to inhibit mold growth.
Mold prevention and remediation are paramount. Mold thrives in damp, dark environments and can quickly take root in areas affected by water damage. It often appears as fuzzy, discolored patches (black, green, white, or orange) and carries a distinctive musty odor. For small, isolated patches of mold (less than 10 square feet), you can often clean it yourself using a solution of equal parts water and white vinegar, or a mild bleach solution (one cup of bleach per gallon of water). Always wear gloves, eye protection, and a mask when cleaning mold.
However, if the mold covers a large area, the odor is overwhelming, or anyone in your household experiences respiratory issues, it’s best to call a professional mold remediation specialist. They have the equipment and expertise to safely remove mold and prevent its recurrence.
Finally, assess and repair any physical damage. Warped or swollen particle board cabinetry usually cannot be fully restored and will likely need to be replaced. Solid wood cabinets might be salvageable if the damage is minimal and dried quickly. Inspect flooring under the sink; if it’s buckled or damaged, it may need repair or replacement. Repainting or resealing surfaces within the cabinet can also help protect them from future moisture.
As part of your long-term strategy, implement preventative maintenance. Make it a habit to regularly inspect under your sink, looking for any signs of moisture, drips, or discoloration. Check the integrity of your supply lines for bulges, cracks, or fraying. Avoid overtightening drain connections, which can lead to stress cracks. Properly use and maintain your garbage disposal to prevent clogs and leaks. Consider installing a smart water leak detector under your sink; these devices can alert you via your phone at the first sign of moisture, providing an invaluable early warning system.
Related: Create a Fire-Safe Oasis: Wildfire Resistant Landscaping for Homes in Dry Climates
Long-Term Protection and Peace of Mind
Regular check-ups under your sink should become a routine part of your home maintenance schedule. This proactive approach, coupled with the potential for smart home devices like water leak sensors, can significantly reduce your risk of major water damage. For older homes or those with complex plumbing, consider periodic professional plumbing check-ups to catch potential issues before they escalate.
Conclusion
Water damage under your sink, while frustrating, is a manageable issue when approached with knowledge and swift action. By understanding how to identify subtle signs, pinpoint the leak’s source, implement quick fixes, and diligently dry and restore the affected area, you empower yourself to protect your home. Embrace preventative measures and routine inspections for lasting peace of mind, ensuring your under-sink area remains dry, safe, and problem-free. Share your own experiences or tips for dealing with under-sink water damage in the comments below – your insights could help another homeowner!